Niwi Blog
Built-in Blog Features

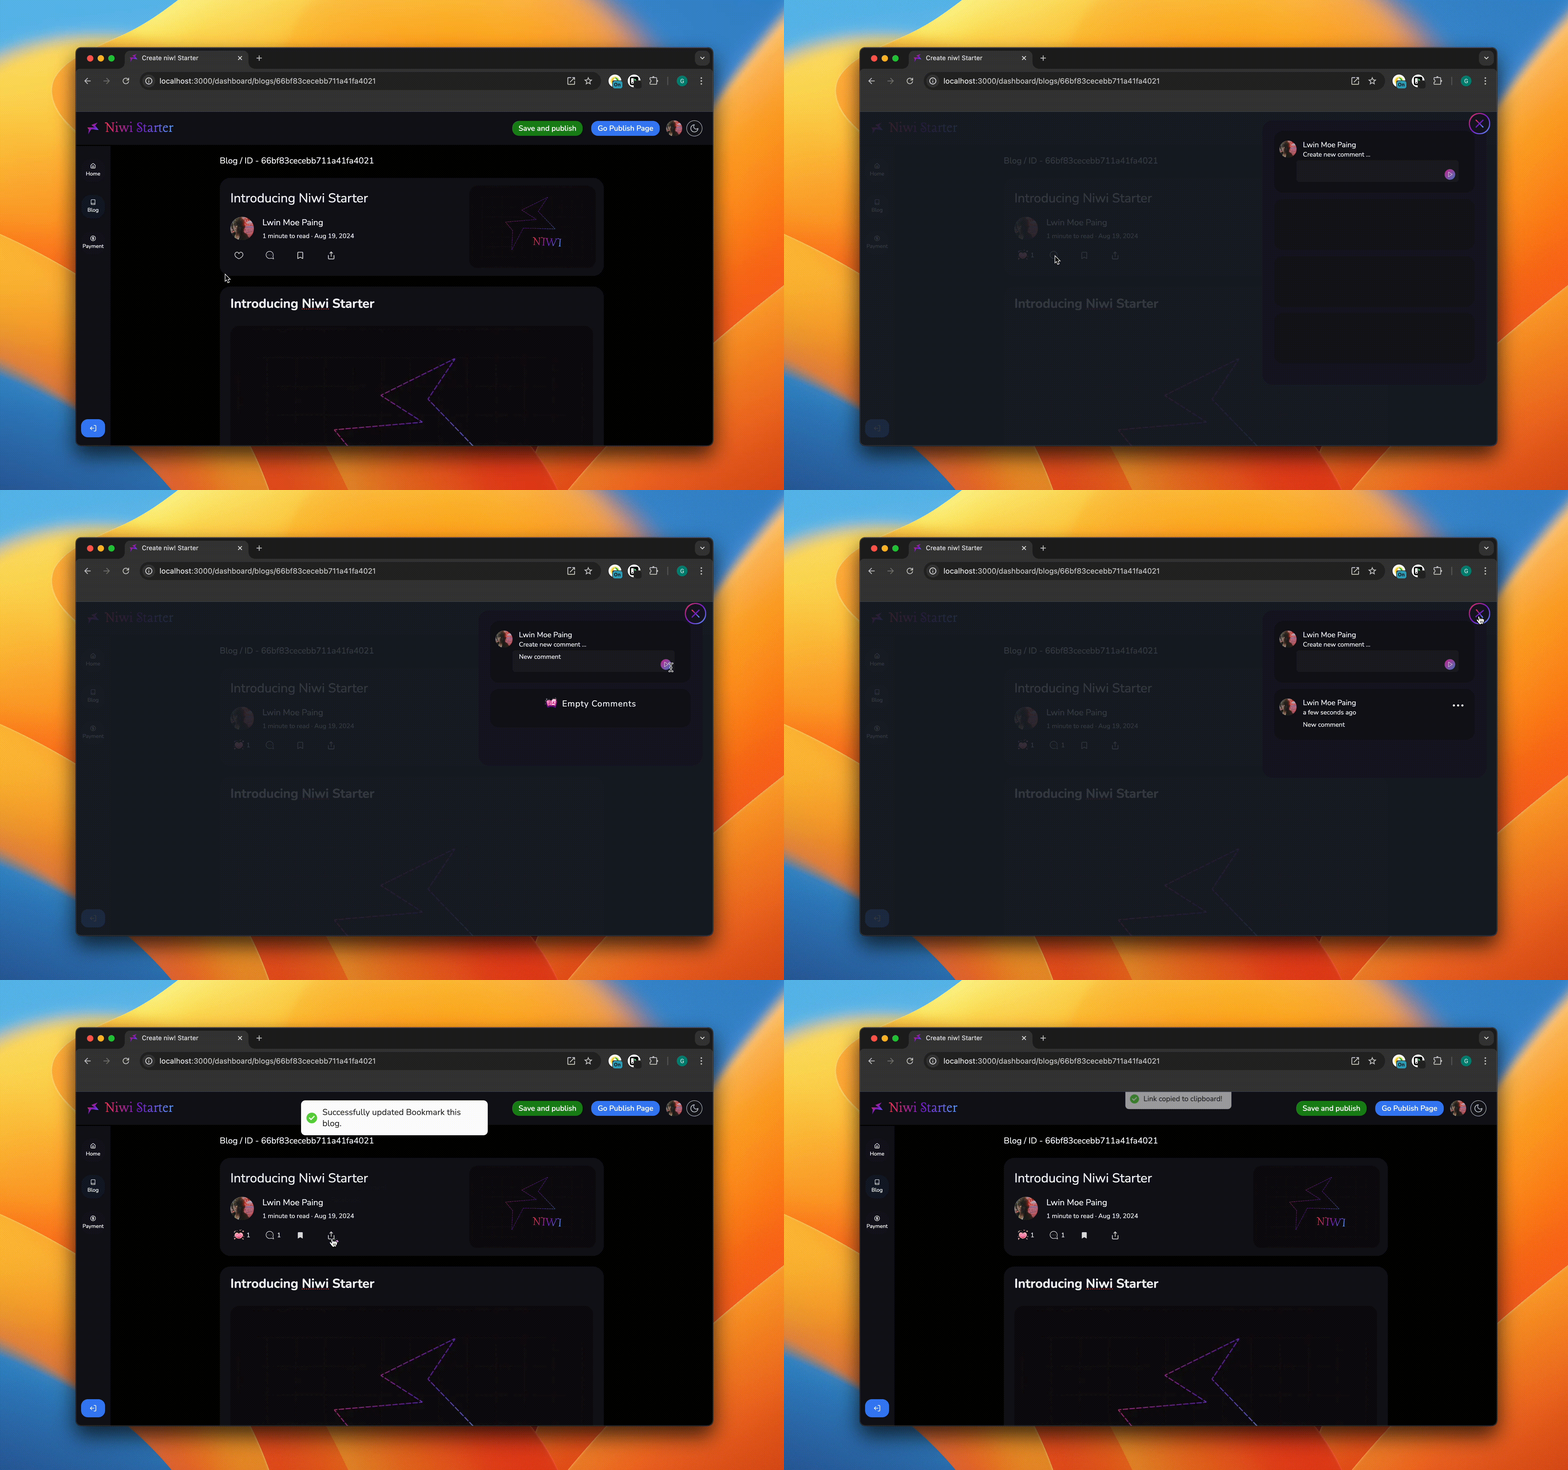
The Niwi Starter blog comes with essential features that enhance user interaction. Readers can easily comment, bookmark, share, and favorite blog posts, making the blog more engaging and user-friendly.
Custom Emoji Support

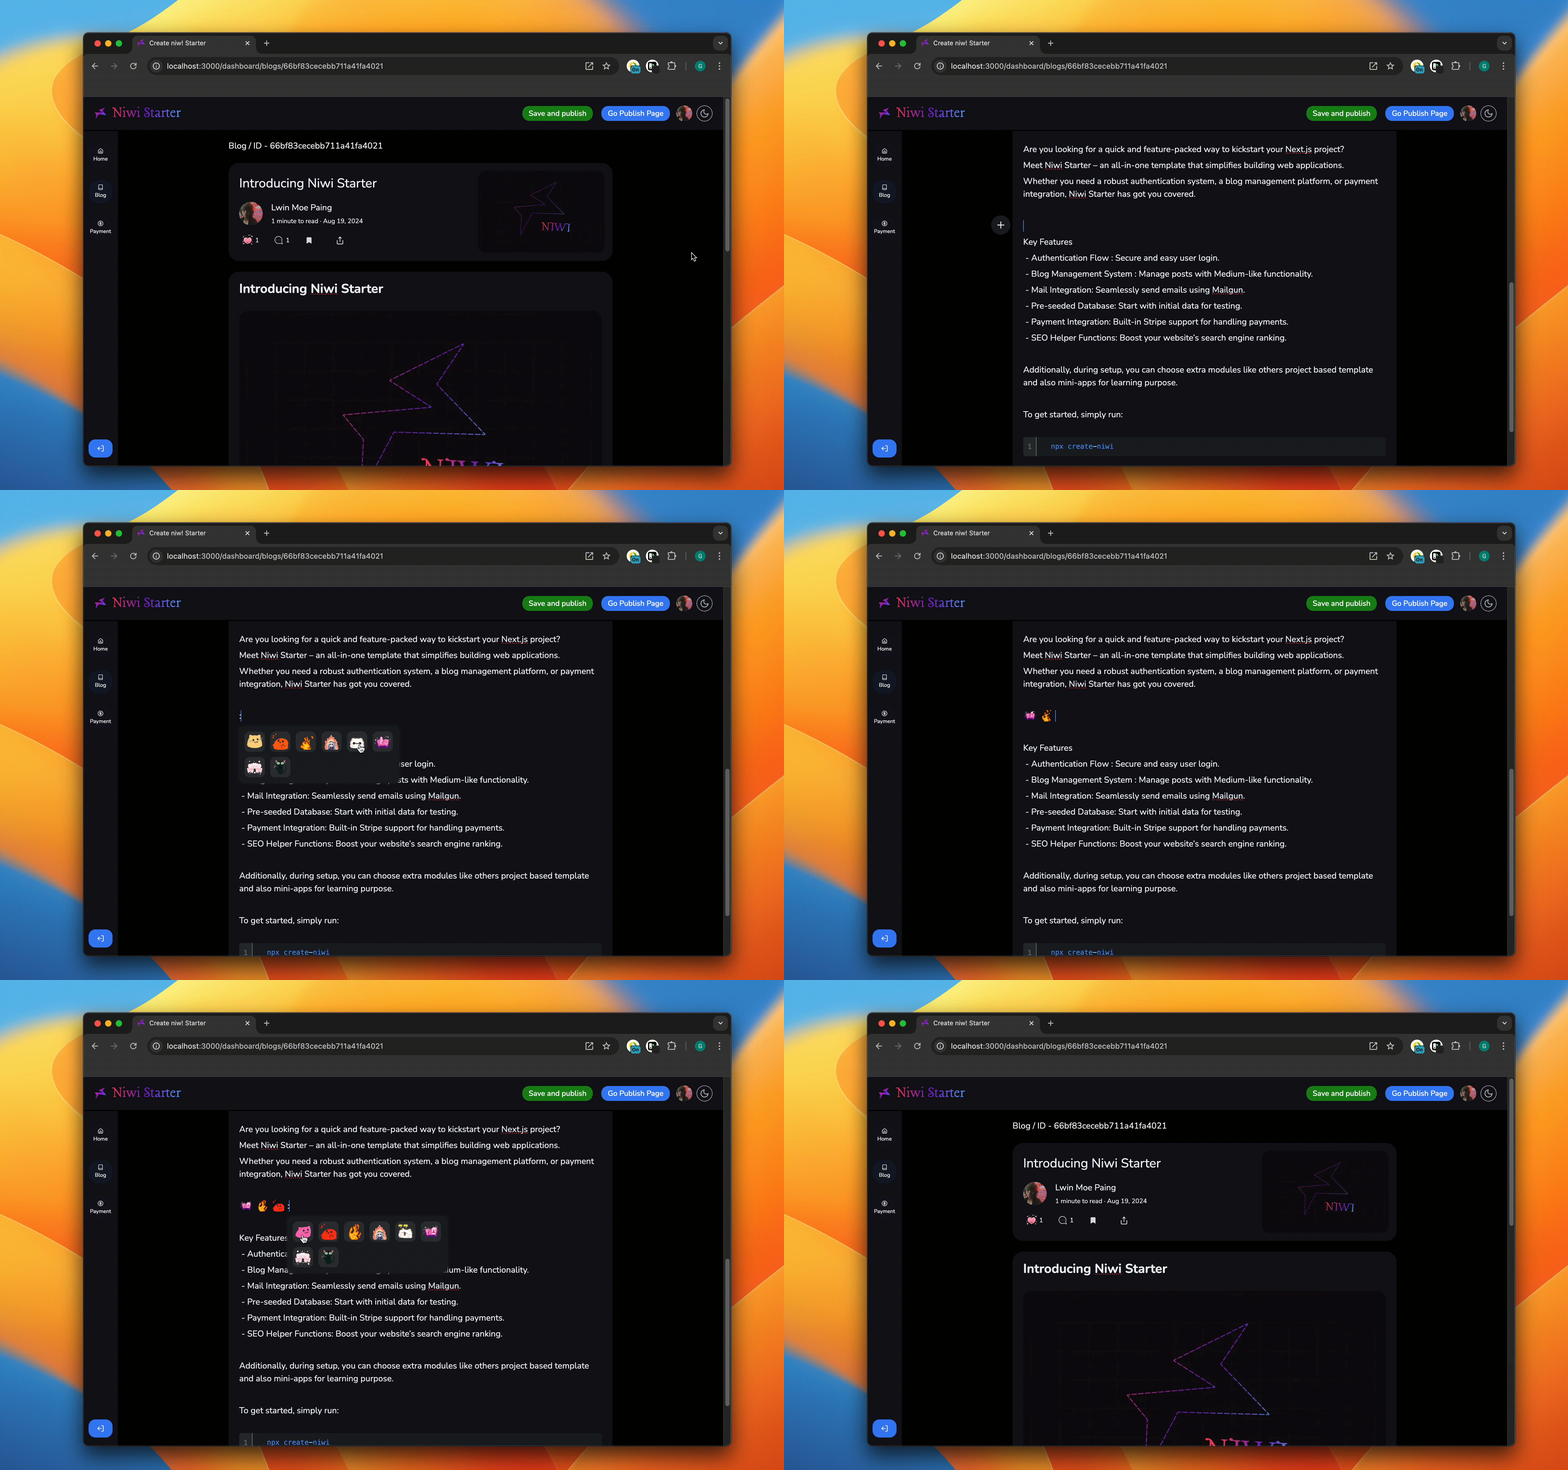
Niwi Starter allows you to personalize your blog with custom emojis. You can add emojis using a simple : keyword. The configuration is flexible, allowing you to modify or introduce your own emojis effortlessly.
If you’re interested in adding your own emojis, the process is straightforward, and we’ll guide you step-by-step below.
How to Add Custom Emojis

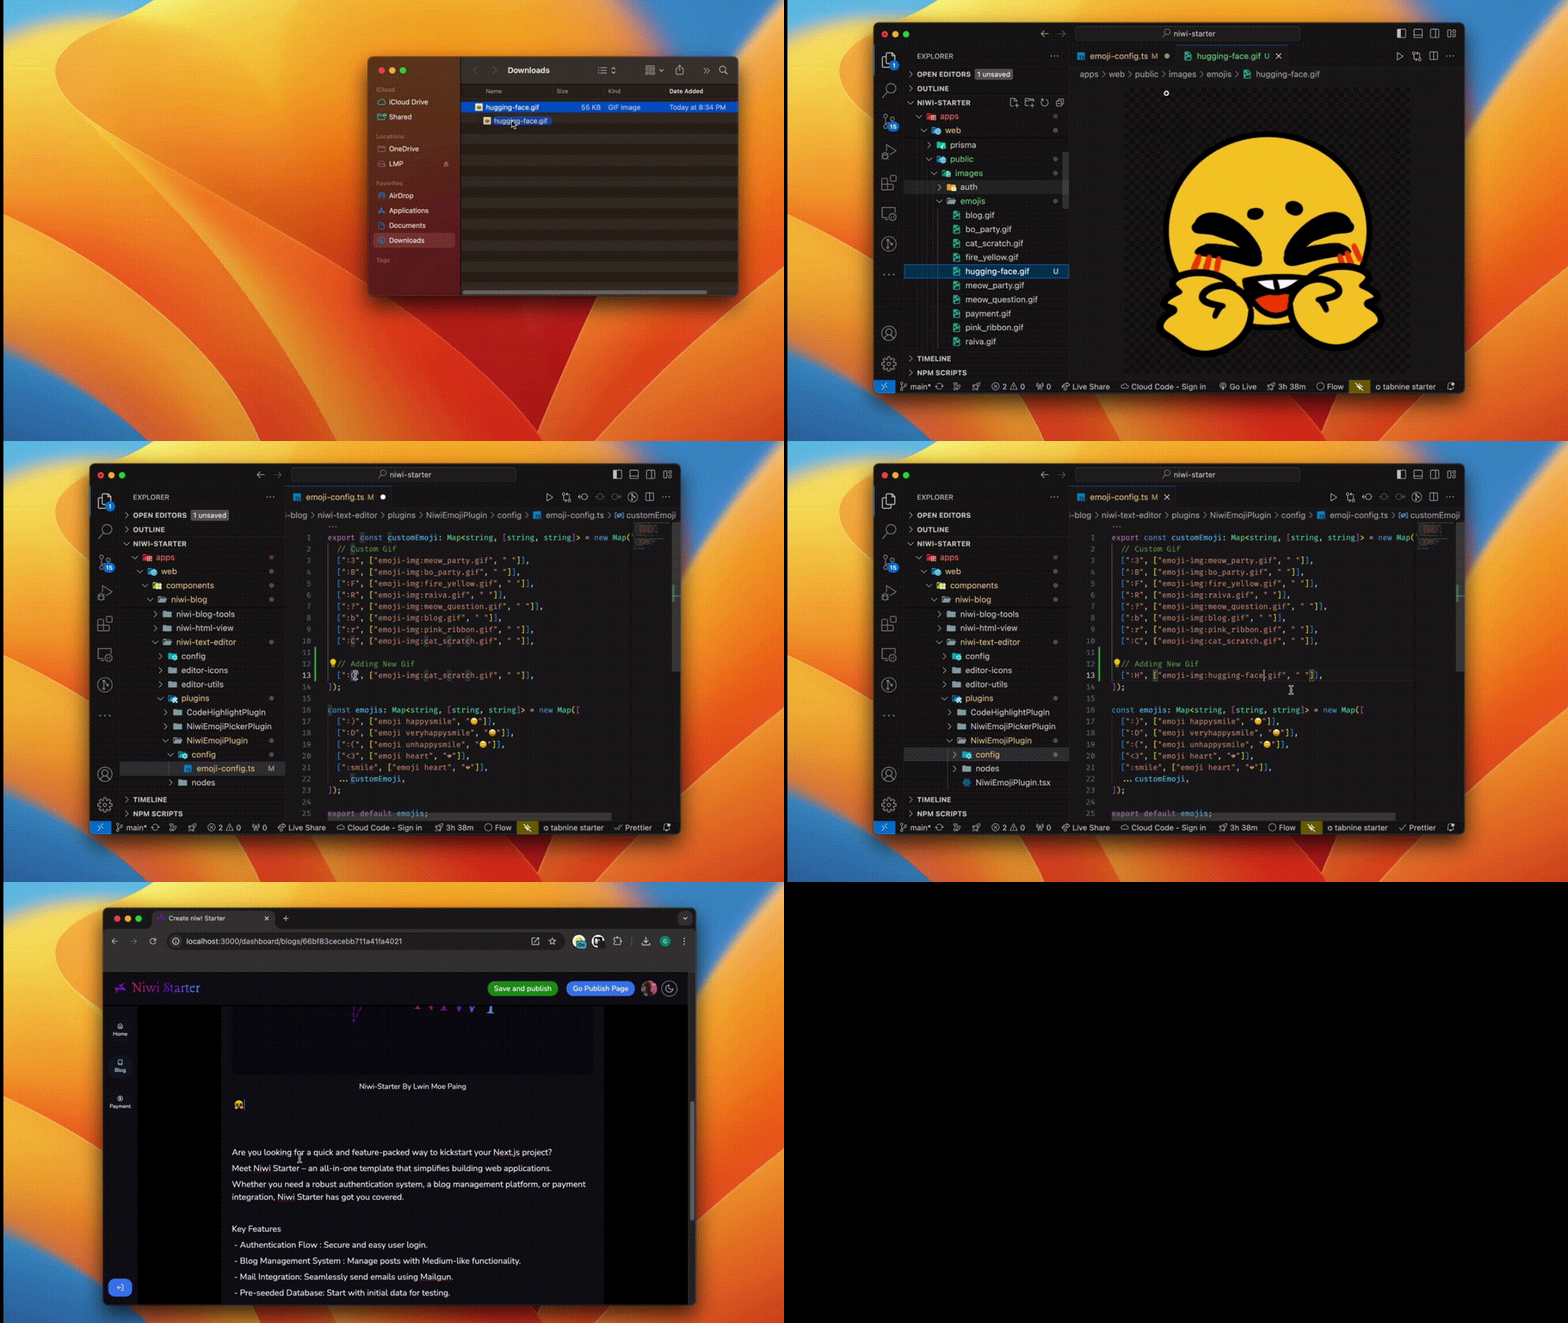
To add a new emoji, follow these steps:
-
First, place your new
giffile inside the/public/images/emojisdirectory. -
Next, update the configuration in the file located at:
emoji-config.ts
This step finalizes the addition of your custom emoji. For example, if your new GIF file is named hugging-face.gif, the configuration would look like this:
export const customEmoji: Map<string, [string, string]> = new Map([
  // Custom Gifs
  [":3", ["emoji-img:meow_party.gif", " "]],
  [":B", ["emoji-img:bo_party.gif", " "]],
  [":F", ["emoji-img:fire_yellow.gif", " "]],
  [":R", ["emoji-img:raiva.gif", " "]],
  [":?", ["emoji-img:meow_question.gif", " "]],
  [":b", ["emoji-img:blog.gif", " "]],
  [":r", ["emoji-img:pink_ribbon.gif", " "]],
  [":C", ["emoji-img:cat_scratch.gif", " "]],

  // Adding a New Gif
  [":H", ["emoji-img:hugging-face.gif", " "]],
]);
Once this is done, your new emojis will be available for use in the blog editor, enhancing the customization options for your posts.
Unsplash Image Picker Integration
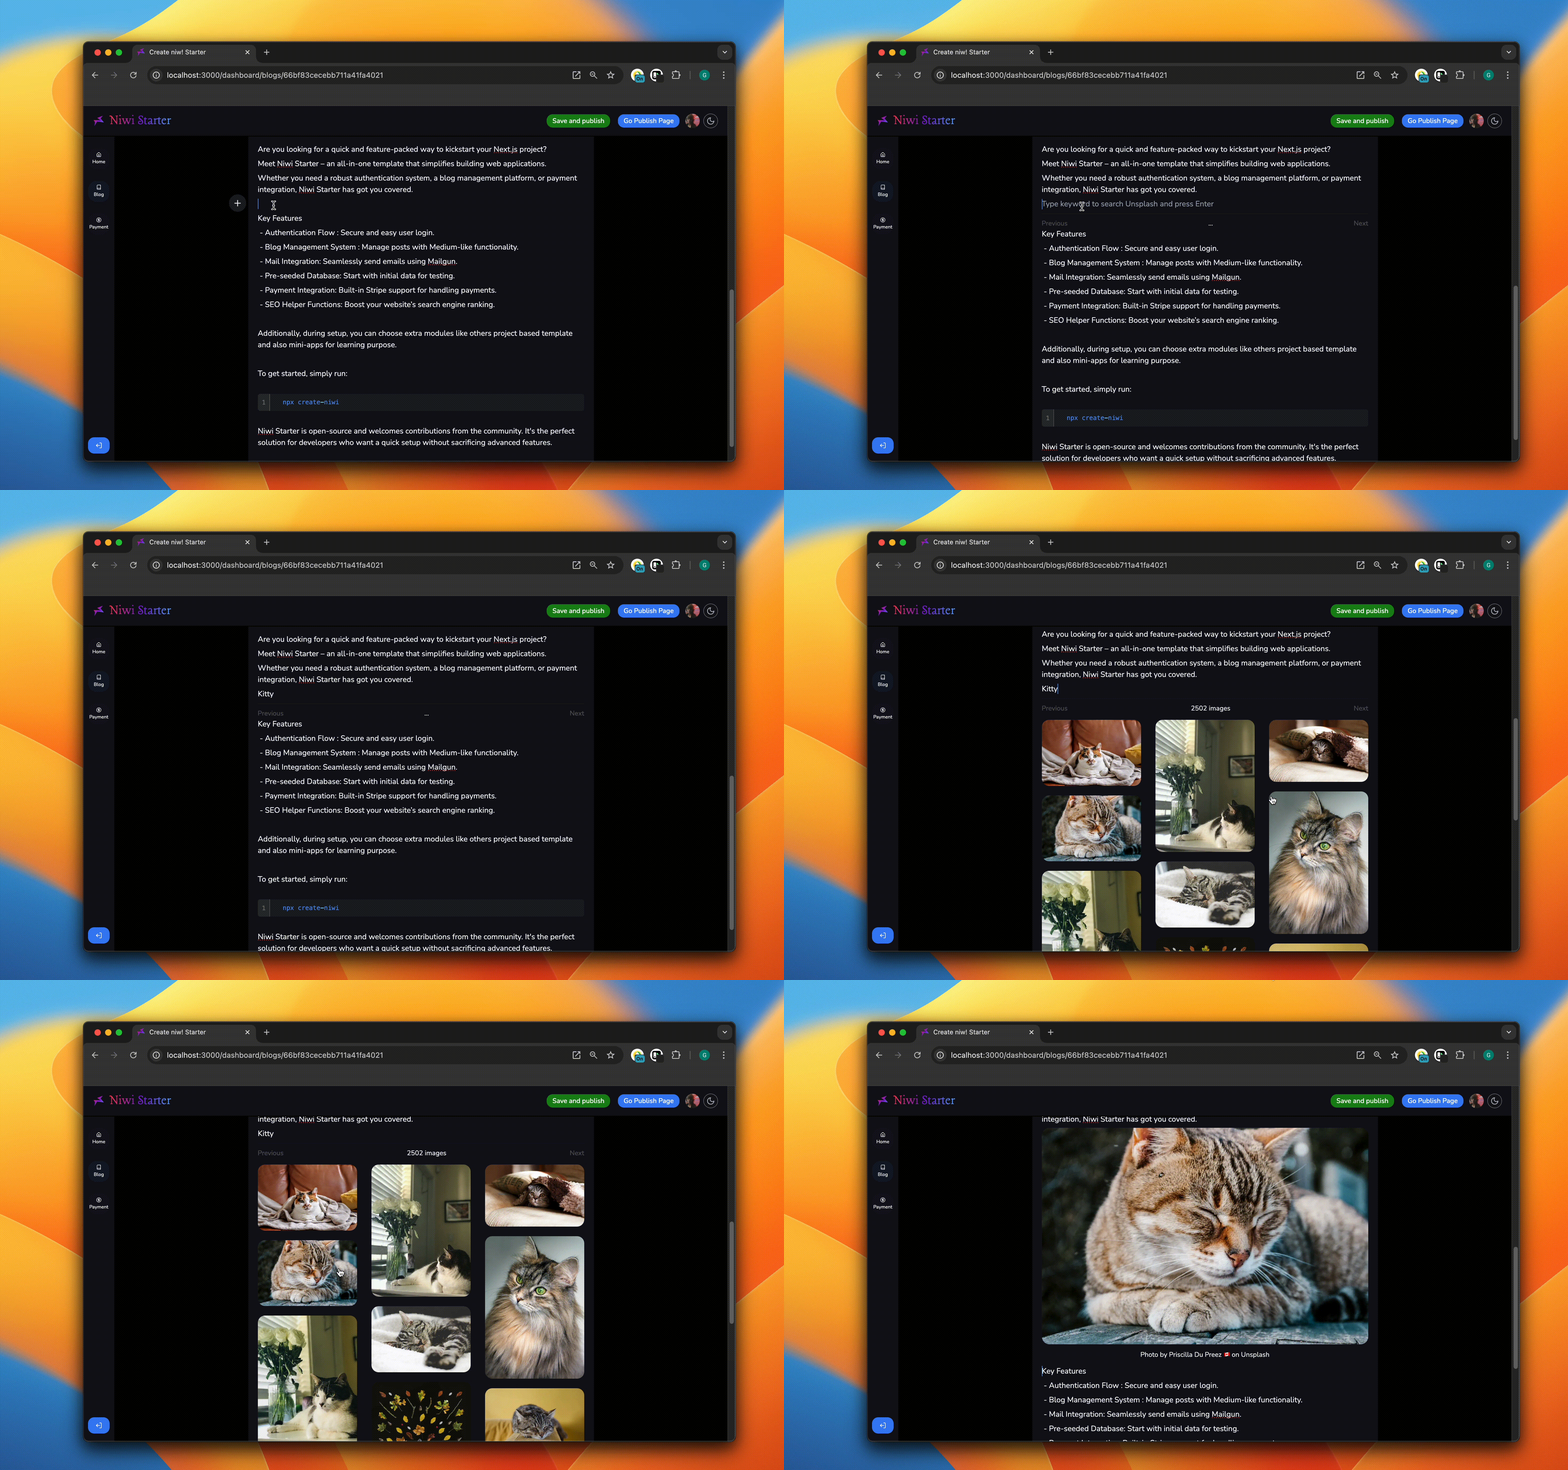
If you want to include an Unsplash image picker in your blog, you'll need to set up the following environment variable:
Add the NEXT_PUBLIC_UNSPLASH_ACCESS_KEY to your .env file with your Unsplash API access key.
NEXT_PUBLIC_UNSPLASH_ACCESS_KEY=your-access-key-here

How to Get Your Unsplash API Access Key
Follow these steps to obtain your Unsplash API access key:
-
Sign Up or Log In to Unsplash
Visit unsplash.com and create an account if you don’t have one. If you already have an account, simply log in. -
Apply as a Developer
Go to the Unsplash Developer page and click on Get Started. You’ll need to fill out a brief application explaining how you plan to use the API. -
Create a New Application
Once your application is approved, navigate to the Developer Dashboard and click on New Application. Fill in the required details like the application name, description, and website URL. -
Get Your Access Key
After creating your application, you’ll receive an Access Key and a Secret Key. You only need the Access Key for Niwi Starter. Copy it for the next step. -
Add the Access Key to Your
.envFile
In your project’s root directory, create or update the.envfile with the following line:NEXT_PUBLIC_UNSPLASH_ACCESS_KEY=your-access-key-here -
Save and Restart Your Project
Make sure to save your changes and restart your development server to apply the configuration.
This feature allows you to conveniently search for and insert high-quality images from Unsplash directly within the blog editor.